


Modeled in 3DS Max and Zbrush:


All the parts as designed to be properly 3D printed:


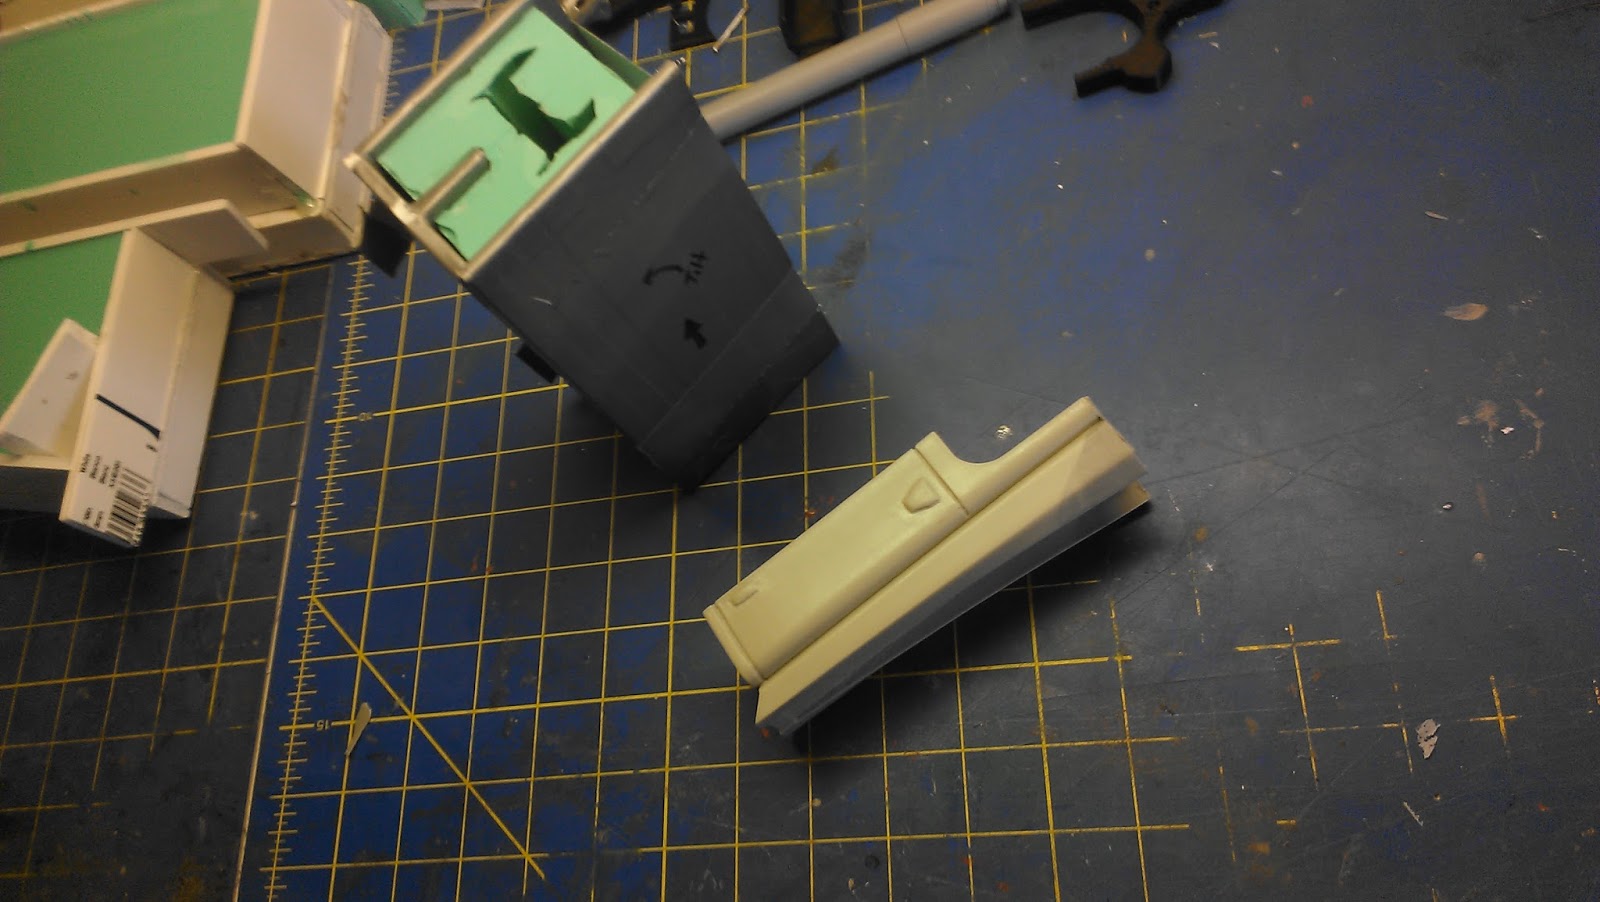
And here are all the parts 3D printed temporarily taped together (also an in-progress Hawkmoon):


And now we start the worst part of making props from 3D prints. Spot Putty, sand, filler primer, sand, spot putty, sand, filler primer, sand....

...Until each part is perfectly smooth (or as long as you can stand doing this)

Now, I've started spraying the main parts a glossy white:


Test fit:


Now with a graphite shine! (on the gray metal parts)

As seen at the top of this post, I think this came out pretty awesome. Very happy with it.

After a few months sitting on my desk at work, I took Monte Carlo apart and took it home to begin making molds:

In several instances I had to fill deep holes with clay

Sand, prime, fill, sand, prime, fill, you know the drill (heh heh)


Finished molds with silver dust. Ready to cast.

Since there are some super-detailed areas on MC like the feather engraving on Hawkmoon, I decided to take special care with the molds on those parts. I just used my finger to push the silicone into the engravings on these parts.
This process takes longer but it ensures a better mold in the end


Here's the first cast. I think it came out really well. The engraving is perfect. (Except for that air bubble right below it lol).

Pouring high to get rid of air bubbles for the magazine mold.

For the bayonet mold I wanted to try a new method intended to save silicone.
I followed this 2-part video tutorial: Hold to Mold a Prop

Again, pushing silicone into the tiny recessed details .

Wait a second! Where's the silicone in the engraving from before?
It took several attempts to make create a good mold setup for the bayonet. I had ripped out that thin silicone, and once I had a good setup (as pictured below), I re-did the silicone in the engravings.


Blocks of silicone from (very old Lancer paintball gun molds) used as registration keys for the fiber glass mother mold.


Once the mold was done, I noticed a big problem (not pictured). The silicone on one mold half was too thin so the pink silicone blocks kinda weighed on the side walls a bit. The result was that when the mold was closed up for casting, one side-wall of the bayonet was wobbly.
Regardless and with my fingers crossed, I pulled a cast:

The results were OK. There was some wobble along one side wall, but a quick sand, made 'em disappear. If they continue to come out serviceable, then we're good to go. If they prove to be a problem, I'll have to re-make this mold :/
Upper receiver top mold.


Because the part has a large undercut (the shaft for the bolt), I poured silicone first into that channel.
This made sure that I wouldn't get any air bubbles in the mold which were a risk had I just poured silicone over top in one go.


At this point 11/24/2016 I'm out of silicone. I went ahead and prepped more parts for molds, but now I'm waiting to pick up some more.

Stock mold:


I also pulled some casts from the other molds which I'm relieve to say, worked out nicely:


Sight rail mold:


After the silicone cured, and without removing the master model, I made a support structure from strips of masonite. I didn't take a pic of the finished structure (I may add one later here), but it ended up looking like two right angle corners that I clamp together.

I added that "tab" of foam core to this mold to save a bit on silicone. It seems a little silly in retrospect, but I was hoping that I could finish all the molds with this last 10lb kit of silicone...


...I was wrong. I ran out again. <sigh>
I have one half of the grip mold and the entire mag-well/lower receiver left. So until I get more silicone...
We're almost done! (02/04/2017)
Ok! Got more silicone. Lets finish the fight!


I used paddle drill bits to reduce the weight of some of the heavier parts. The only parts that could actually slush (roto) cast are the magwell/lower reciever (pictured above), and the bayonet.


Aaaaaaaaaaand that's all the pics I took of my progress with the molded Monte Carlo. It basically got assembled the same way the 3d printed version did. The final piece is really nice and weighty, like a real gun of that size. Other than that, it looks identical to the 3d printed one shown in the beauty shots at the top of this post.
I love your work! The Monte Carlo is my favorite gun from Destiny. Is there a way I can get the files form you or purchase them from you?
ReplyDeleteHi there. Thanks! I'm sorry but I don't give out or sell my files. I have been known to sell finished props though. For further inquiries: shprops13@gmail.com
ReplyDeleteJust starting 3d-modelling Monte Carlo myself and found your amazing work. How long did it take you to make the 3D model?
ReplyDeleteHi. Thanks! I would say I worked on it on and off for about a month, which I realize is not the type of answer you're looking for. Good luck with yours, and just keep working on it until you're happy with it.
Delete